Little Old Story
Several years back while I started working in a capacity of Jr. DBA, faced a question in walk-in interview. “Have you installed SQL Server on Linux?” without a moment delayed my answer was “Yes, many a time”. Didn’t realize my interview concluded with this “goofy” answer as REJECTED candidate. But that remained a question in my mind for a very long time. If Oracle, MySQL and several other RDBMS go hand in hand with non-windows operating system why, MSSQL Server can’t.
Mar 2016, Microsoft launched first CTP release of SQL Server vNext, which is nothing but usual Microsoft SQL Server RDBMS engine & sitting on Linux operating system. Indeed an amazing moment for SQL Server lovers like me.
Through this blog I am sharing my SQL Server vNext experience on Linux which covers most of all steps.
Topics Covered
- Pre-Requisites
- Environment Setup to play nicely
- Install SQL Server on Linux
- Configure SQL Server on Linux
- Use SQL Server on Linux
Perhaps most of DBAs/Developer/DevOps & SQL Server Technology Lovers find little uncomfortable using Linux commands line interface (CLI) to build a SQL Server Instance on Linux (as I do). Believe me Microsoft has done a great job documenting those steps. You may not need any comprehensive or previous understanding of Linux commands to have them used and get going. However, you’re having an upper hand if having.
Quick snippet about versions of Linux can host SQL Server vNext.
Platform File System
Red Hat Enterprise Linux 7.3 Workstation, Server & Desktop XFS or EXT4
SUSE Enterprise Linux Server v12 SP2 EXT4
Ubuntu 16.04LTS and 16.10 EXT4
Docker Engine 1.8+ on Windows, Mac, or Linux N/A
*Limitations & Bugs
https://docs.microsoft.com/en-us/sql/linux/sql-server-linux-release-notes
So let’s go ahead with steps involved to build a easy to use Linux machine first.
Prerequisites –
Ubuntu 16.04 LTS With 3.25GB of memory.
Working internet connection to Ubuntu machine.
SSH Server (optional)
Ubuntu 16.04 LTS is latest (by Feb-2017) and Microsoft SQL Server vNext (CTP1.2) – 14.0.200.24 (X64) are latest and present throughout blog. Ubuntu 16.04 is 100% freeware and Microsoft GPG keys & Registry for Ubuntu as well. RedHat & SUSE Linux GPG keys & repositories are absolutely paid so if you’ve luxury to have those available, please feel free to use. However some of commands are little different from Ubuntu, documentation is available at the end of page.
Some Basic Commands for Ubuntu
curl – is a tool to transfer data from or to a server, using one of the supported protocols (DICT, FILE, FTP, FTPS, GOPHER, HTTP, HTTPS, IMAP, IMAPS, LDAP,LDAPS, POP3, POP3S, RTMP, RTSP, SCP, SFTP, SMTP, SMTPS, TELNET and TFTP). The command is designed to work without user interaction.
sudo – is a program for Unix-like computer operating systems that allows users to run programs with the security privileges of another user, by default the superuser. It originally stood for “superuser do” as the older versions of sudo were designed to run commands only as the superuser.
apt-get – The apt-get utility is a powerful and free package management command line program, that is used to work with Ubuntu’s APT (Advanced Packaging Tool) library to perform installation of new software packages, removing existing software packages, upgrading of existing software packages
systemctl – is a systemd utility which is responsible for Controlling the systemd system and service manager.
ssh – OpenSSH is the premier connectivity tool for remote login with the SSH protocol. … The OpenSSH suite consists of the following tools: Remote operations use ssh, scp, and sftp. Key management with ssh-add, ssh-keysign, ssh-keyscan, and ssh-keygen. The service side consists of sshd, sftp-server, and ssh-agent.
Most of techies like me are used to of Ctl+C & Ctl+V most of time to minimize efforts, so do I. While working with command line interface (CLI) those two vital efforts become challenging. Here openssh-server plays extremely useful role.
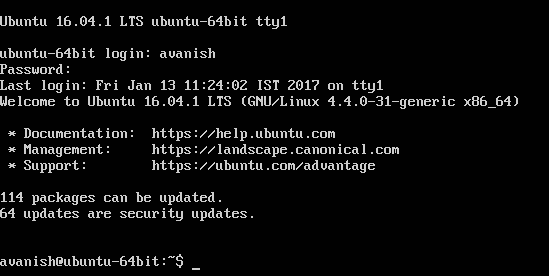
- Login to Ubuntu Server machine with super user account (probably the one created during installation).
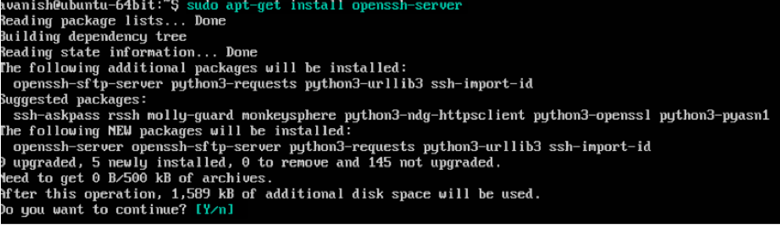
- Run sudo apt-get install openssh-server & press Y to continue installation.
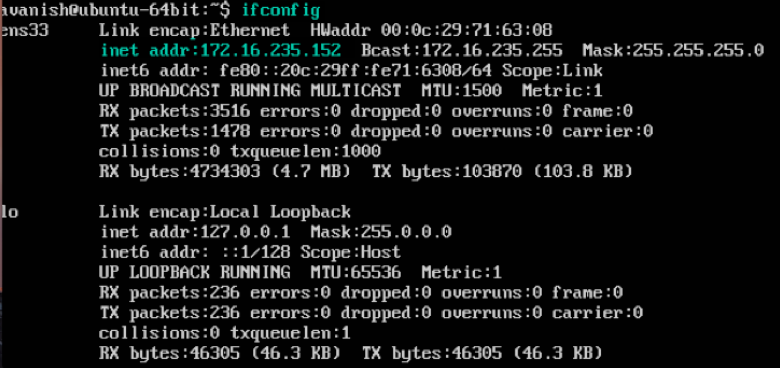
- Once SSH is installed successfully. Run ifconfig command to check ip address to connect your Ubuntu machine through SSH server.
- Now open terminal or Putty (windows) to connect your Ubuntu server (in my case, Macintosh terminal) and type ssh <<super_user_id>>@<<ip-address-of-ubuntu-machine
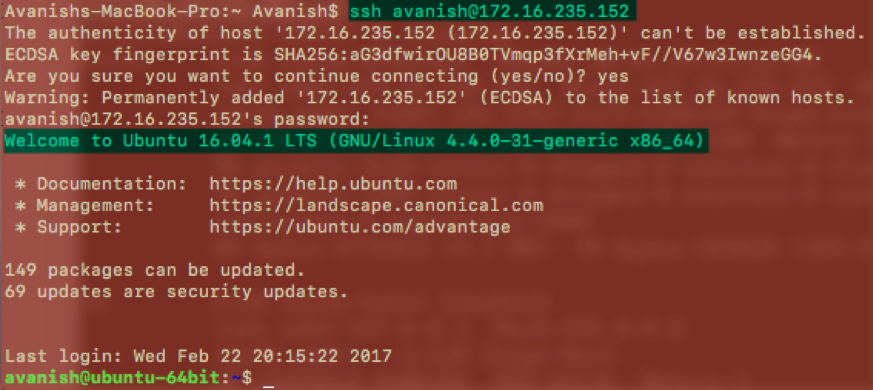
- You can see I’m connected to my based Ubuntu Machine. Woha!!! Base environment is all setup. Before moving ahead let’s check memory allocated to machine.

- Let’s start building SQL instance on Linux. So I make sure my machine is connected to Internet and successfully download GPG keys from SQL Server registry files from Microsoft website to Ubuntu machine. I keep on saying Microsoft as usual doing a great job in documenting each an every step to setup Ubuntu environment on Linux. So, I’m going to use same steps without any deviations to achieve this installation.
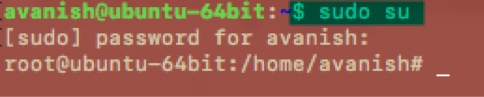
- All tasks are performed under super user mode. Here is the command.sudo su pops up password, please put it correct and you’re in super user/administrative mode (like windows).
- Import the public repository GPG keyscurl https://packages.microsoft.com/keys/microsoft.asc | sudo apt-key add –

- Register the Microsoft SQL Server Ubuntu repository:curl https://packages.microsoft.com/config/ubuntu/16.04/mssql-server.list | sudo tee /etc/apt/sources.list.d/mssql-server.list

- Run the following commands to have your Ubuntu up to date with all required files.sudo apt-get update

- Run the following commands to install MS SQL Server on Ubuntu.sudo apt-get install –y mssql-server
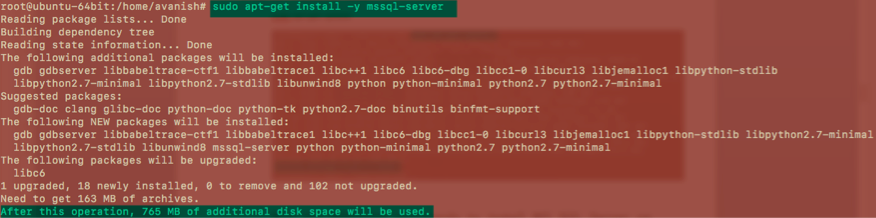
- Once you see below result set, it’s an indication of SQL instance completion and move to configuration step.

- After the package installation finishes, run mssql-conf setup and follow the prompts. Make sure to specify a strong password for the SA account (Minimum length 8 characters, including uppercase and lowercase letters, base 10 digits and/or non-alphanumeric symbols).sudo /opt/mssql/bin/mssql-conf setup

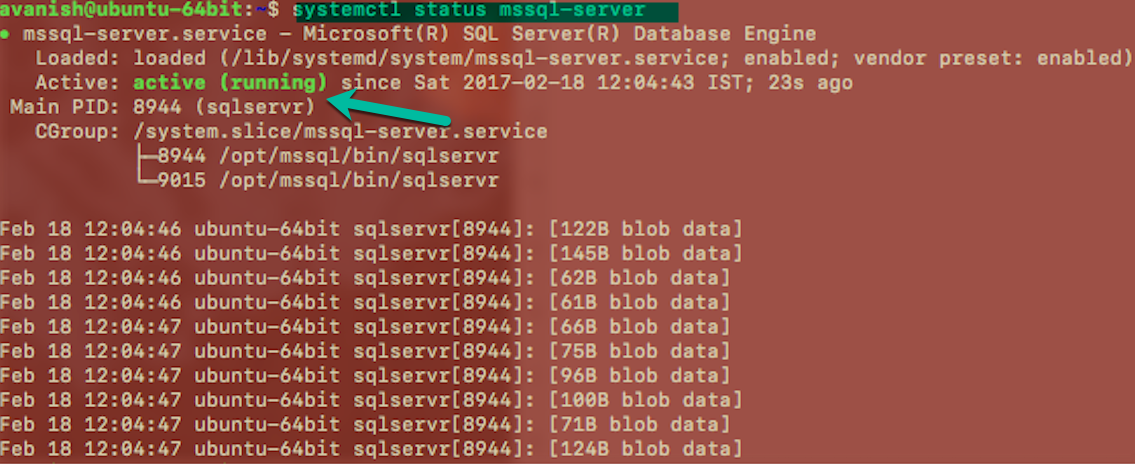
- Once the configuration is done, verify that the service is running:systemctl status mssql-server
- Update the apt-get repository lists:sudo apt-get update
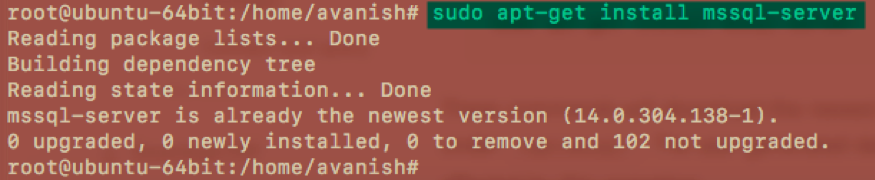
- Re-run the installation command, this will upgrade the specific mssql-server package:sudo apt-get install mssql-server
Install tools on Ubuntu
- Import the public repository GPG keys.curl https://packages.microsoft.com/keys/microsoft.asc | sudo apt-key add –

- Register the Microsoft Ubuntu repository.curl https://packages.microsoft.com/config/ubuntu/16.04/prod.list | sudo tee /etc/apt/sources.list.d/msprod.list

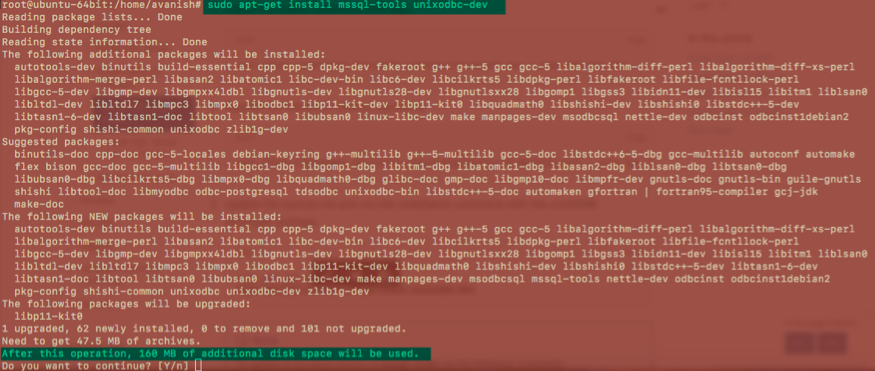
- Update the sources list and run the installation command with the unixODBC developer package.sudo apt-get update

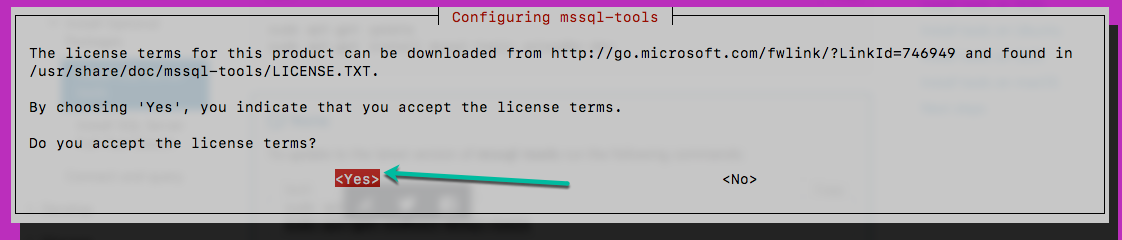
- sudo apt-get install mssql-tools unixodbc-dev

- Optional: Add /opt/mssql-tools/bin/ to your PATH environment variable in a bash shell.To make sqlcmd/bcp accessible from the bash shell for login sessions, modify your PATH in the ~/.bash_profile file with the following command:echo ‘export PATH=”$PATH:/opt/mssql-tools/bin”‘ >> ~/.bash_profile
source ~/.bashr
![]()
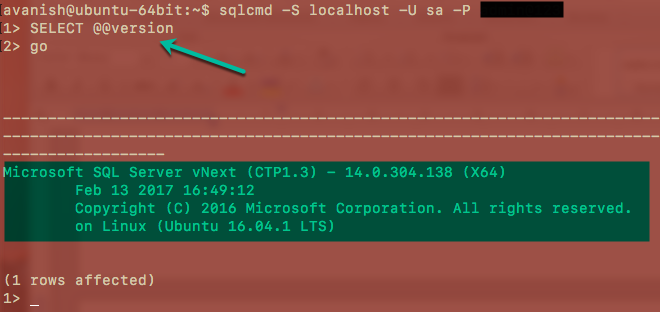
Now you can exit from super user mode (su) and connect to SQL instance.

Cool! All set to connect SQL Instance sitting on Linux machine. A dream comes to reality. Well know “SQLCMD” is a tool to connect SQL instance from Linux environment. SSMS is always an option to connect and use SQL Server (vNext) on sitting on Linux machine, if client is windows OS.
That’s pretty much from my side, next blog will talk about more on similar/aligned topic to SQL Server vNext.
Thank you!
Avanish Panchal
Regional Head – DataPlatformGeeks & DPS2017 Core Team Member
Like us on FaceBook | Join the fastest growing SQL Server group on FaceBook
Follow Avanish Panchal on Twitter | Follow Avanish Panchal on FaceBook
Superb content, very informative ,.cheers !!!